start By Jekyll
安裝使用 Jekyll
macOS預設的ruby太舊,只好用brew裝新版
brew install ruby
安裝後位置(/usr/local/Cellar/ruby/2.4.2_1),重新讀取環境變數
source ~/.bash_profile
確認ruby版本
ruby -v
更新gem
gem update --system
使用gym安裝jekyll
gem install jekyll
確認jekyll版本
jekyll -v
到要建立blog project的目錄底下下指令
jekyll new danielblog
會建立danielblog資料夾,cd進去
cd danielblog
啟動jekyll服務
jekyll serve
結果出現錯誤
/usr/local/lib/ruby/site_ruby/2.4.0/bundler/resolver.rb:288:in `block in verify_gemfile_dependencies_are_found!': Could not find gem 'minima (~> 2.0)' in any of the gem sources listed in your Gemfile. (Bundler::GemNotFound)
from /usr/local/lib/ruby/site_ruby/2.4.0/bundler/resolver.rb:256:in `each'
from /usr/local/lib/ruby/site_ruby/2.4.0/bundler/resolver.rb:256:in `verify_gemfile_dependencies_are_found!'
...
上網查所要裝bundler,所以執行下面兩行指令
gem install bundler
bundle install
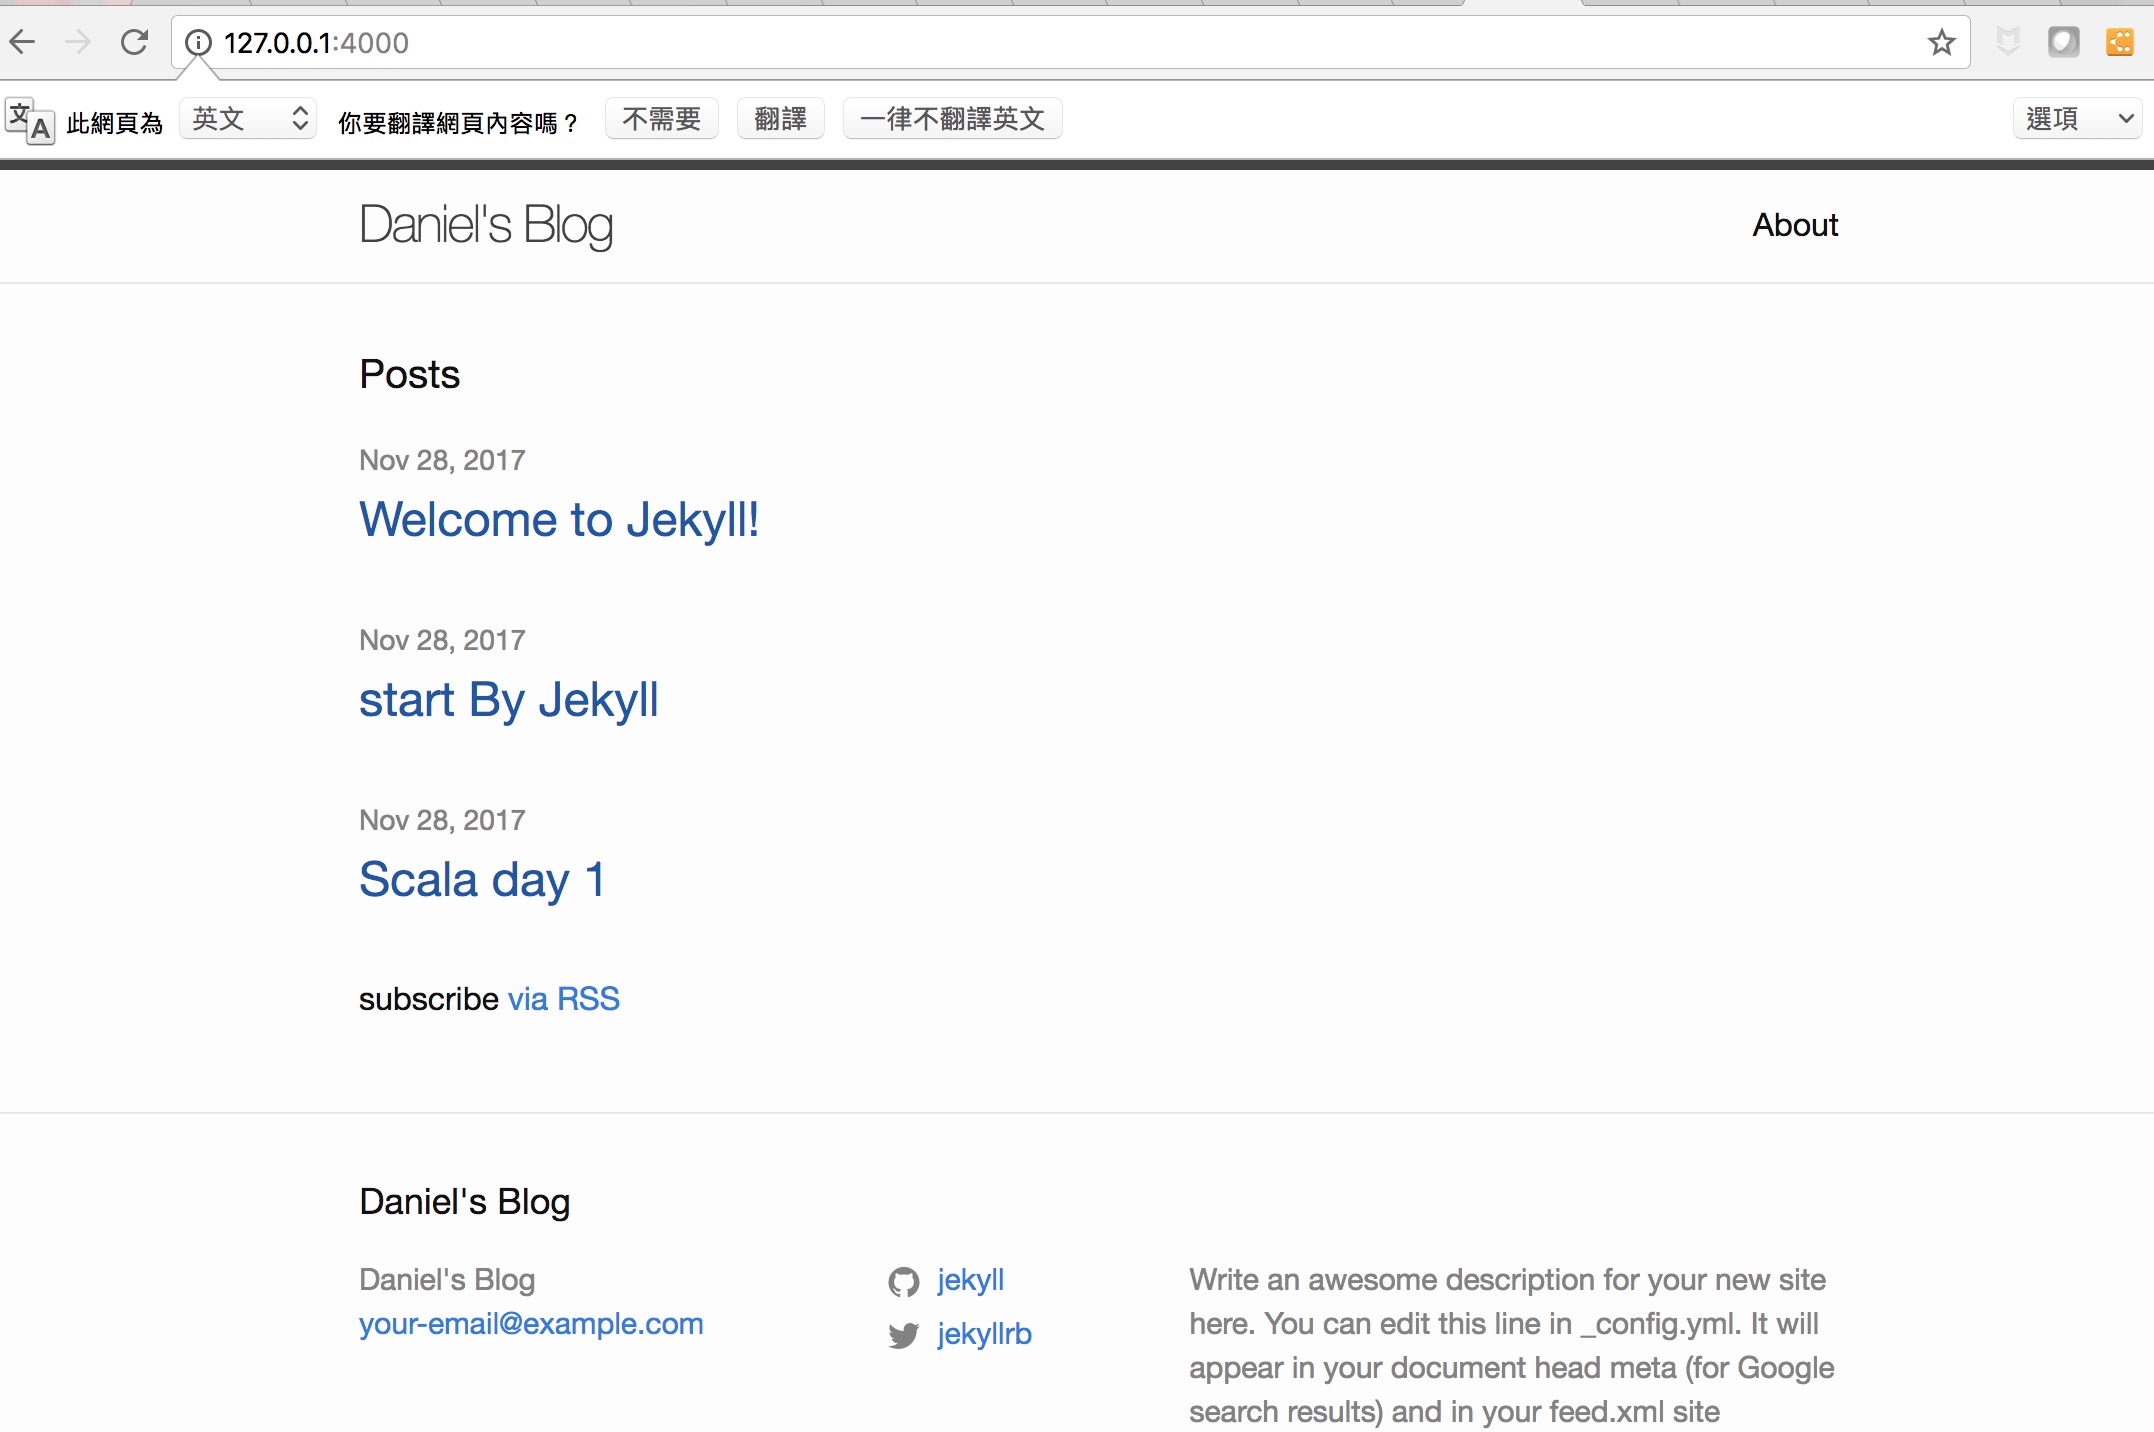
之後再重新執行一次jekyll serve.然後再打開網址:
http://127.0.0.1:4000
github pages + jekyll
如果要搭配使用 github pages 時,在 github 建立 Repository name 一定要是(github的使用者名稱).github.io.
假設github的使用者名稱是weihuangdev,Repository name 就要設成 : weihuangdev.github.io
然後在網址才會是 https://weihuangdev.github.io/,否則網頁的路徑會跟jekyll的路徑不一樣,顯示會有問題.這坑踩超久…
補充
- 想讀取圖片的話,可在project(danielblog)底下建立assets資料夾裡放圖片或resource,可用下面markdown語法:
 - 在markdown想換行的話直接在後面加兩個空白即可.
- 寫好_post但文章出不來時,可在_config.yml加上:
future: true
published: true
參考網址:
Yung-An’s Blog
jekyllrb
jekyll-post-not-generated
github pages